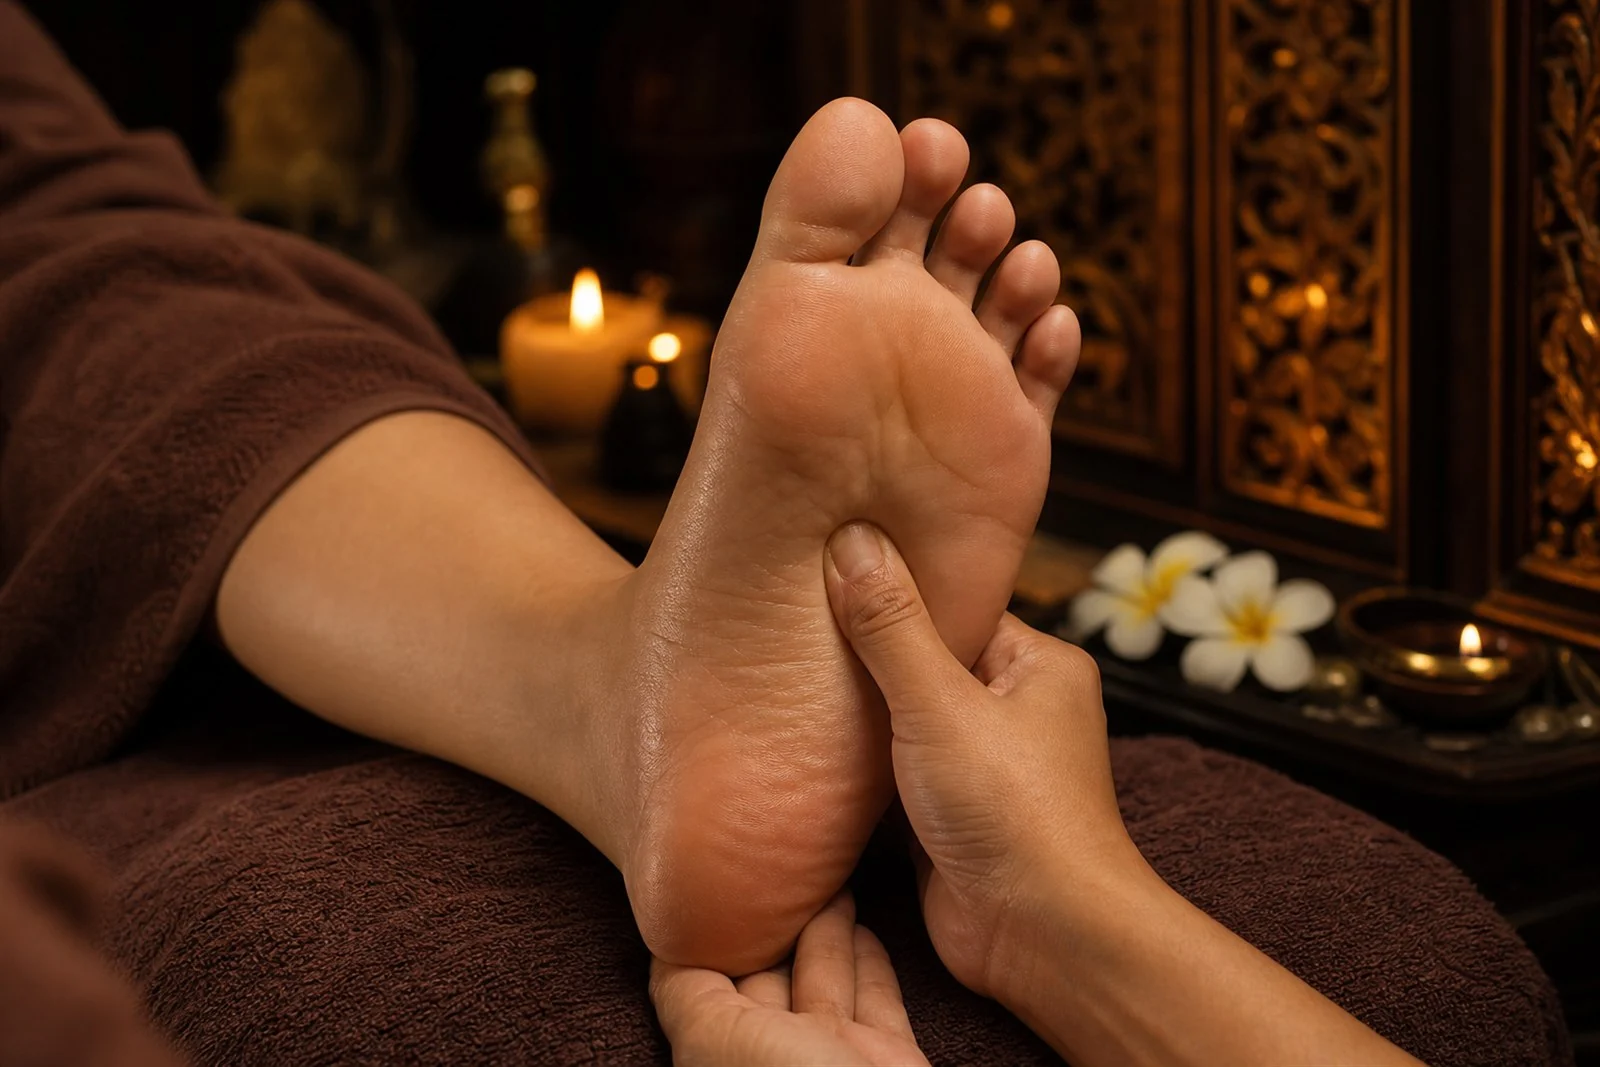
Almost nobody looks after their own feet. They carry you over concrete all day inside shoes chosen for other reasons, and they get a cursory wash and nothing else. Five minutes of deliberate pressure in the evening changes how the whole lower half of you feels, and you already own everything you need.
This is not the same as a professional reflexology session — you cannot reach your own feet at the right angles, and you will not be able to sustain the pressure. Think of it as maintenance between visits.
Before you start
- Sit down properly, one ankle crossed over the opposite knee. Do not do this standing.
- Use a little oil or moisturiser — dry thumbs skid and dig.
- Use your thumb pad, not the tip, and lean your body weight in rather than squeezing with your hand. Your hands will last twice as long.
- Hold each point for around 30 seconds, breathing out as you press in.
- Aim for firm and satisfying. Sharp pain means back off.
1. The solar plexus point — for winding down
Just below the ball of the foot, in the hollow at the centre, roughly under the gap between your second and third toes. Press your thumb in and hold while you take three slow breaths out. Repeat three times.
This is the point many traditional reflexologists start and finish with, and it is the one to use if you are wound up at the end of the day.
2. The arch — for tired, aching feet
The long inside curve from the ball of the foot to the heel. Work along it with your thumb in small circles, from the heel forwards, then back. Spend a full minute per foot.
This is where plantar tightness lives — the ache that is worst on your first few steps in the morning. If you have plantar fasciitis that has been diagnosed, keep it gentle and follow your physiotherapist's guidance rather than ours.
3. The heel — for lower back and hips
The pad of the heel, which the traditional maps associate with the lower back and pelvis. Use your knuckle rather than your thumb — the skin is thick here — and work in slow circles for thirty seconds.
Whether or not the map means anything anatomically, this is a hard-working area of a hard-working structure, and it responds. If your lower back is the real complaint, our guide to massage for lower back pain covers what is worth booking.
4. The toe webs — for a heavy head
The soft webbing between each pair of toes. Pinch each web gently between thumb and forefinger, hold for ten seconds, and move along. Then take each toe and rotate it slowly, twice each way.
This is the one to do after a long day staring at a screen, and it takes about forty seconds.
"Everyone goes straight for the arch. It is the toes and the ankles that people never touch, and it is the toes and ankles that carry the day."
Siri therapist team
5. Above the ankle — for heavy legs
Not strictly a reflexology point, but the most useful one on this list. Using both thumbs, work up the inside of the calf from just above the ankle towards the knee, in long slow strokes — always upwards, towards the heart, never down. Six or seven passes per leg.
Follow it with ten minutes lying on the floor with your legs up the wall, and heavy evening legs usually feel noticeably lighter. Nurses, hospitality staff and anyone who stands all day will notice it most.
After a long flight, check one thing first. If one calf is swollen, painful, warm or red, do not massage it — Healthify's guide to deep vein thrombosis says to contact a healthcare provider urgently with those signs. If both legs simply feel heavy and puffy, the routine is fine, and our guide to massage after a long flight covers the rest.
What reflexology can and cannot do
Reflexology rests on a traditional map: zones on the feet said to correspond to organs and areas elsewhere in the body. It is worth being straight about the evidence. Cleveland Clinic's overview of reflexology describes the research as currently of low quality, and notes that there are no well-designed studies showing it works better than an ordinary foot massage.
So we will not tell you that pressing your heel does anything to your kidneys. What firm, slow pressure on tired feet reliably does is simpler and still worth having: it feels good, many people find it settling enough to sleep better that night, and calves worked upwards after a day on your feet feel lighter. That is why this routine is about how your feet and legs feel, not about the organs on the chart.
It is also why reflexology is never a treatment for a medical problem. Diagnosed plantar fasciitis, numbness, swelling in one leg, or foot pain that changes how you walk all belong with a GP, podiatrist or physiotherapist first.
When not to do this
Skip it, and check with your GP, if you have diabetes with any loss of sensation in the feet, a current or previous blood clot or DVT, an unhealed wound, ulcer or infection, significant unexplained swelling in one leg, or if you are pregnant — some traditional foot points are conventionally avoided in pregnancy, so ask your midwife first. If a spot is sharply painful rather than achy, leave it alone.
The routine, in order
- Solar plexus point — 3 breaths, three times
- Arch — one minute, circles
- Heel — thirty seconds, knuckle
- Toe webs and toe rotations — forty seconds
- Calf, upwards only — six passes
- Swap feet. Total: about five minutes each.
Do it three evenings a week and you will notice it. Do it for a month and you will notice how much better a professional session feels — 45 minutes at the Viaduct is $95, or $85 at St Heliers, and both spas are open until 8.00pm, seven days.
Common questions
As maintenance, yes — five minutes of deliberate pressure is a good way to ease tired feet and heavy legs. It cannot replace a professional session, because you cannot reach your own feet at the right angles or sustain the pressure.
Around 30 seconds each, breathing out as you press in. The whole routine takes about five minutes per foot.
Always upwards, towards the heart, never downwards. Six or seven slow passes per leg, ideally followed by ten minutes with your legs up the wall.
Anyone with diabetic loss of foot sensation, a current or past blood clot, one swollen or painful calf, an unhealed wound or ulcer, or who is pregnant — check with your GP or midwife first.